
Keyboards are common electronic devices in daily life, and they are also inseparable from printed circuit boards. By connecting each case, switch and component, a keyboard PCB or keyboard PCB board achieves seamless input and output operations. These boards are particularly important for mechanical keyboards, influencing responsiveness, durability, and customization options. Let's delve into this guide to explore the fundamentals of keyboard PCBs, the steps for DIY keyboard PCB assembly, and advanced customization techniques.
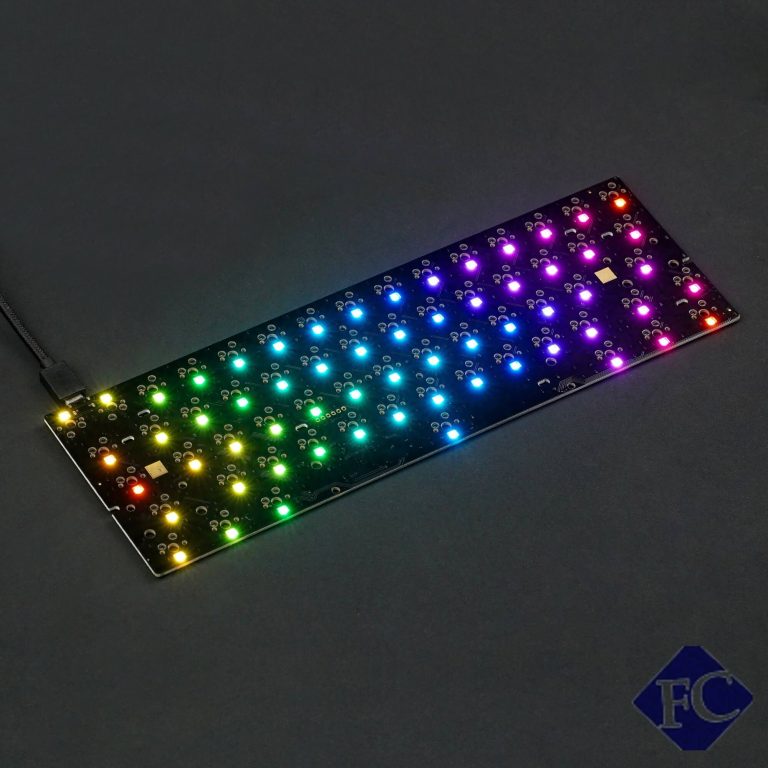
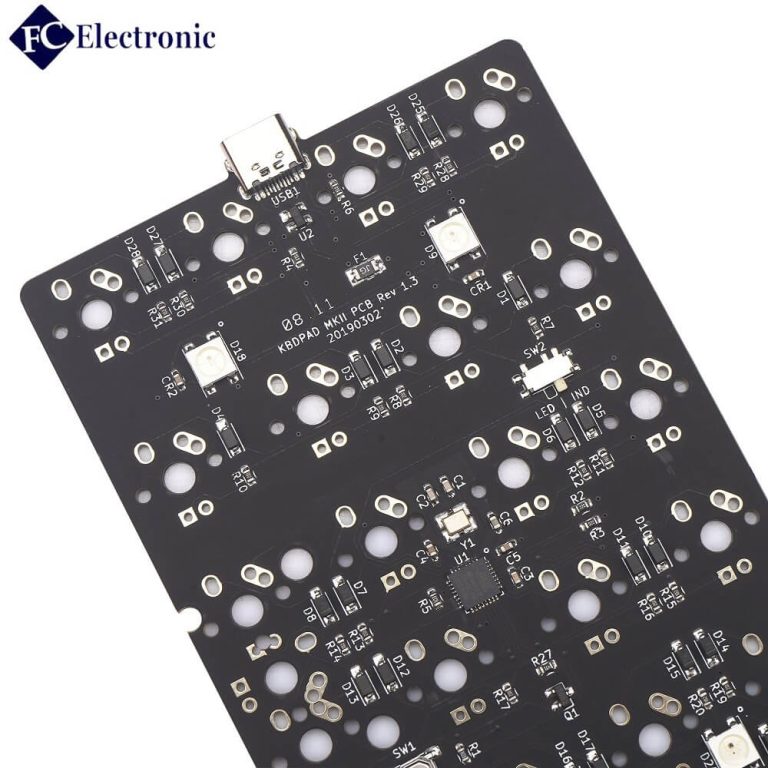
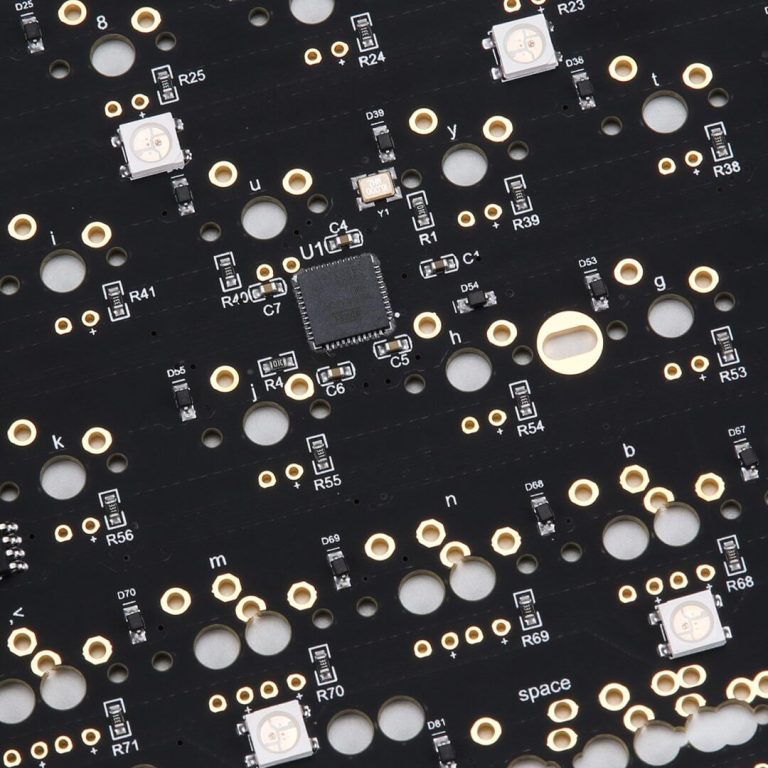
FC Keyboard PCBs Display



What is a Keyboard PCB?
Keyboard PCB Definition
A PCB board keyboard is the core electronic component of all keyboards, without which keyboards cannot accurately process keystrokes. Keyboard circuit manages the connections between all switches, LEDs, and components, ensuring that electrical signals are accurately transmitted between various electronic devices.
Role of PCBs in Keyboards
The keyboard circuit board's primary function is to provide a structured framework for connecting the keyboard's components. It ensures that electrical signals are transmitted accurately between switches, the microcontroller, and the computer or other devices. The PCB also enables customizations like RGB lighting, hot-swappable PCB functionality, and compact designs, making it an essential feature in any mechanical keyboard PCB setup.
What are the Keyboard PCB Types?
PCB Keyboards by Type
Hot-Swappable Keyboard PCB
The hot-swappable keyboard PCB is a popular choice for mechanical keyboards, which allows users to change switches without soldering. Hot-swappable PCBs cater users by simplifying the process of upgrading and modifying the keyboards. They also extends the lifespan of the keyboard by allowing for easy repairs and replacements.
Standard Keyboard PCB
Standard keyboard PCBs are typically designed for membrane or mechanical switches, it often adheres to established layout like QWERTY. While standard keyboards are widely used in both consumer and professional settings, they may lack the customization option and advanced features found in modular or programmable keyboards.
Membrane Keyboard PCB
Membrane keyboards utilize a pressure-sensitive design to register keypresses. And the menbrance keyboard circuit boards are integral components of membrance keyboards, which often used in low-cost keyboards. It allows for a more lightweight keyboard and quieter typing experience but lacks the tactile feel of mechanical switches.
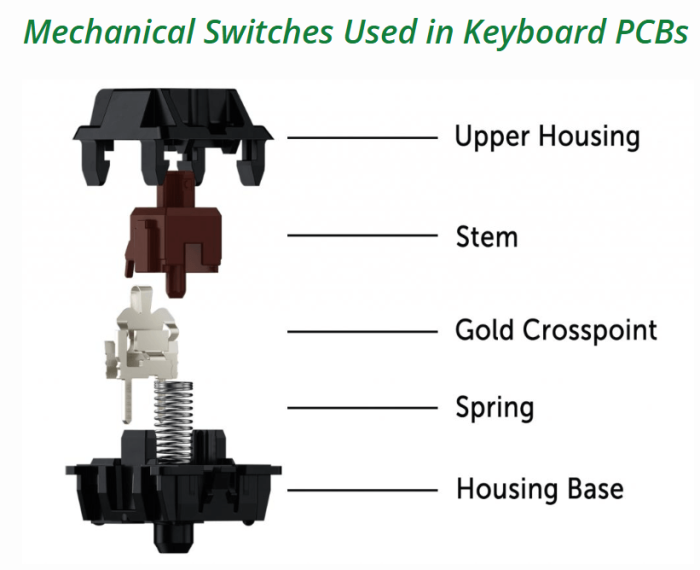
Mechanical Keyboard PCB
Different from membrane keyboard PCBs, mechanical keyboard circuits utilize individual switches that provide distinct actuation points, allowing for greater durability and a satisfying tactile experience. The design of mechanical keyboard PCBs often incorporates features like N-key rollover and anti-ghosting to ensure accurate key registration, even during intense gaming sessions.
Wireless Keyboard PCB
The wireless keyboard PCBs are designed to connect keyboards to devices by utilizing technologies such as Bluetooth or RF (Radio Frequency). The design of wireless keyboard PCBs often emphasizes power efficiency to prolong battery life, incorporating sleep modes and low-energy protocols to minimize energy consumption.
RGB Backlight PCB
RGB backlight PCBs incorporate RGB (Red, Green, Blue) LEDs beneath the key switches, supporting the dynamic lighting features of keyboards and other input devices. The backlighting can be programmed for different patterns, colors and brightness levels. The design of RGB backlight PCBs typically features integrated drivers and controllers that manage the LED output, ensuring smooth transitions and responsive lighting changes based on user input or specific actions.

PCB Keyboards by Layout
|
Type |
Key Number |
Specification |
|---|---|---|
|
100% Full-Sized |
104-key |
Standard keyboards with all keys, including the number pad |
|
96% Compact Full-Sized |
100-key |
A more compact version with the same functionality |
|
80% Tenkeyless (TKL) |
87-key |
Omits the numpad, preserving essential keys in a smaller format |
|
75% Compact Tenkeyless |
84-key |
Compresses spacing further, creating a compact layout |
|
65% Compact Keyboard |
68-key |
Keeps the basic keys, omitting dedicated function keys |
|
60% Mini Keyboard |
61-key |
The smallest layout, with only the most essential keys |
How to Design a Keyboard PCB Board?
Materials Used in PCB Keyboards
-
FR-4: A durable, commonly used substrate for PCBs, ensuring stability and insulation for the keyboard circuit board.
-
Rogers: It is a high-frequency material used as a base for PCB A base with zero signal loss and a high-speed data transmission.
-
HDI: This is one of the advanced substrates, having good signal integrity used for a flexible design.
-
Copper Base: The base layer of this material is copper, having good heat reduction quality and electrical conductivity.
-
Flex: It is made of PET material. A flexible PCB can twist and bend because the base is based on a flex PCB.
-
Conductive Materials: Copper is often used to create conductive pathways on the PCB board keyboard, allowing reliable signal transmission.
Today, many PCBs comply with RoHS standards, using eco-friendly materials and reducing hazardous substances. PCB manufacturers use recyclable substrates and lead-free parts. During production, waste recovery procedures were implemented, due to which chemical waste was reduced to a significant level. In addition to that, advanced manufacturing machines support making the production process energy efficient, supporting using minimal energy cost and reducing carbon footprints.
Keyboard PCB Design Process
- Step 1: Design Keyboard PCB Layout: Create a schematic and PCB layout using software like KiCAD or Eagle.
- Step 2: Prepare for Fabrication: Send your custom PCB keyboard design to a manufacturer, specifying materials, thickness, and layers to a PCB manufacturer for production.
- Step 3: Gather Components: Obtain switches, diodes, microcontrollers, and other essential elements for your keyboard PCB board.
- Step 4: Assemble the PCB: Mount and solder each component on the keyboard PCB board.
- Step 5: Program the Microcontroller: Flash firmware that allows the PCB to communicate with a computer.
- Step 6: Assemble the Keyboard: Mount the assembled PCB into the keyboard case, securing it for final use.
How to Solder a Keyboard PCB?
Through-Hole Soldering
Useful for DIY keyboard enthusiasts;
Provides strong mechanical bonds
Surface Mount Soldering
Ideal for compact designs, requiring specialized equipment to solder components directly to the PCB surface.
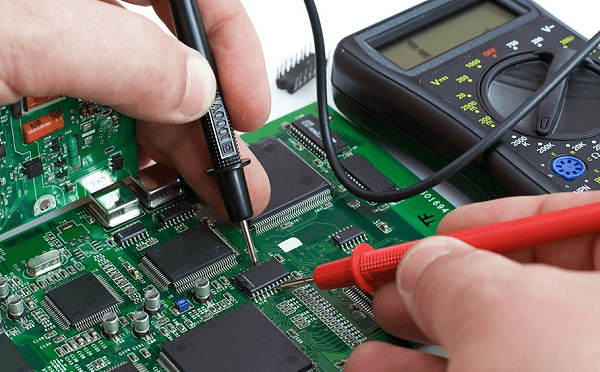
Essential tools for soldering keyboard PCB include a soldering iron, flux, and a multimeter to test connections on the keyboard circuit board.
How Does Keyboard PCB Board Work?
Keyboard PCB Components
|
Component |
Specification |
|---|---|
|
Key Switches |
Individual components on the PCB that complete a circuit when pressed |
|
Matrix Layout |
A grid-like layout for arranging switches, which simplifies the keyboard circuit by reducing the need for extensive wiring |
|
Microcontroller |
Processes each keystroke, enabling the keyboard circuit board to send signals to the computer. |
|
Diodes |
Prevent “ghosting” and ensure that each key registers independently |
|
USB Interface |
Connects the keyboard to the computer and transmits key signals |
Keyboard PCB Work Process
- Key Press: Pressing a key completes an electrical circuit on the PCB.
- Circuit Completion: The microcontroller detects the change in voltage level on the corresponding row and column, allowing current flow to register the key press.
- Signal Detection: The microcontroller detects which key is pressed. It decodes the keypress based on the matrix layout.
- Data Transmission: The keystroke data is sent to the computer.
- Feedback: The computer processes the keystroke, reflecting the input on-screen.
How to Test a Keyboard PCB?
PCB Board Keyboard Testing Tools
Testing of the PCB is one of the most important tasks after the PCB fabrication. Several tools are used. The equipment includes a multi-meter, logic analyzer, USB tester, continuity tester, ESD tester, testing software, and diagnostic firmware for the testing of the keyboard PCB board.
Keyboard PCB Testing Process
- Visual Inspection: Check the board for visible defects.
- Continuity Testing: Verify that all circuits on the keyboard PCB are complete.
- Power Testing: Ensure the board powers on without issues.
- Flashing the Firmware: Load firmware onto the microcontroller to prepare it for functionality testing.
- Key Testing: Test each switch to confirm it registers correctly.
- LED Testing: Test any RGB lighting on the PCB board keyboard.
- Final Assembly Check: Recheck all components before final assembly.
How to Clean a Keyboard PCB
Tools Used for Cleaning of PCB Board Keyboard
The keyboard PCB has to be maintained clean for optimal performance. Numerous cleaning tools are employed for cleaning the keyboard PCB board. Some of the cleaning tools used include a soft brush, flux removal, lint-free wipes, PCB cleaning pens, microfiber clothes, tweezers, PCB cleaning pens, compressed air, and isopropyl alcohol.
PCB Board Keyboard Cleaning Process
-
-
Disassemble Keyboard: Remove the PCB from the keyboards.
-
Initial Dust Removal: Use compressed air to remove surface dust.
-
Cleaning PCB: Wipe the keyboard PCB gently with isopropyl alcohol.
-
Rinse (if necessary): Avoid water; use distilled water and let it dry completely.
-
Drying PCB: Ensure complete drying before reassembly.
-
Reassemble Keyboard: Carefully reattach the PCB to the keyboards.
-
How to Upgrade or Fix Keyboard PCB
Upgrading PCB Board Keyboard
- RGB Lighting: Enhance your keyboard with RGB lights for an aesthetic appeal.
- Programmable Keys: Customize firmware to add programmable keys and functions.
Fixing PCB Board Keyboard
- Choosing the Right Replacement PCB: Ensure compatibility with your keyboard’s layout and features.
- Replacement & repair Steps: Minor damages on a PCB keyboard may be fixed by re-soldering or replacing components.

Where to Buy Keyboard PCBs
For those interested in building or upgrading their keyboards, a variety of custom PCB keyboard options are available through reputable suppliers. Many online retailers specialize in hot-swappable PCB and other specialized keyboard PCBs, allowing you to customize your typing experience with ease.
Fulltronics provides high-quality PCB assembly and design services. Whether it is the keyboard PCB or mouse PCB, the core components of various electronic products can be produced with the highest quality in FC. If you are interested, please feel free to contact us.